foreverool
发布于 2026年1月11日| 1018字 | 3 分钟 | 阅读人数:加载中...
安装主题
hugo安装主题
在安装主题之前,你需要下载git,node.js
接下来有关主题的安装,以及发布到Github Pages上都是默认安装了git、node.js。
选择主题
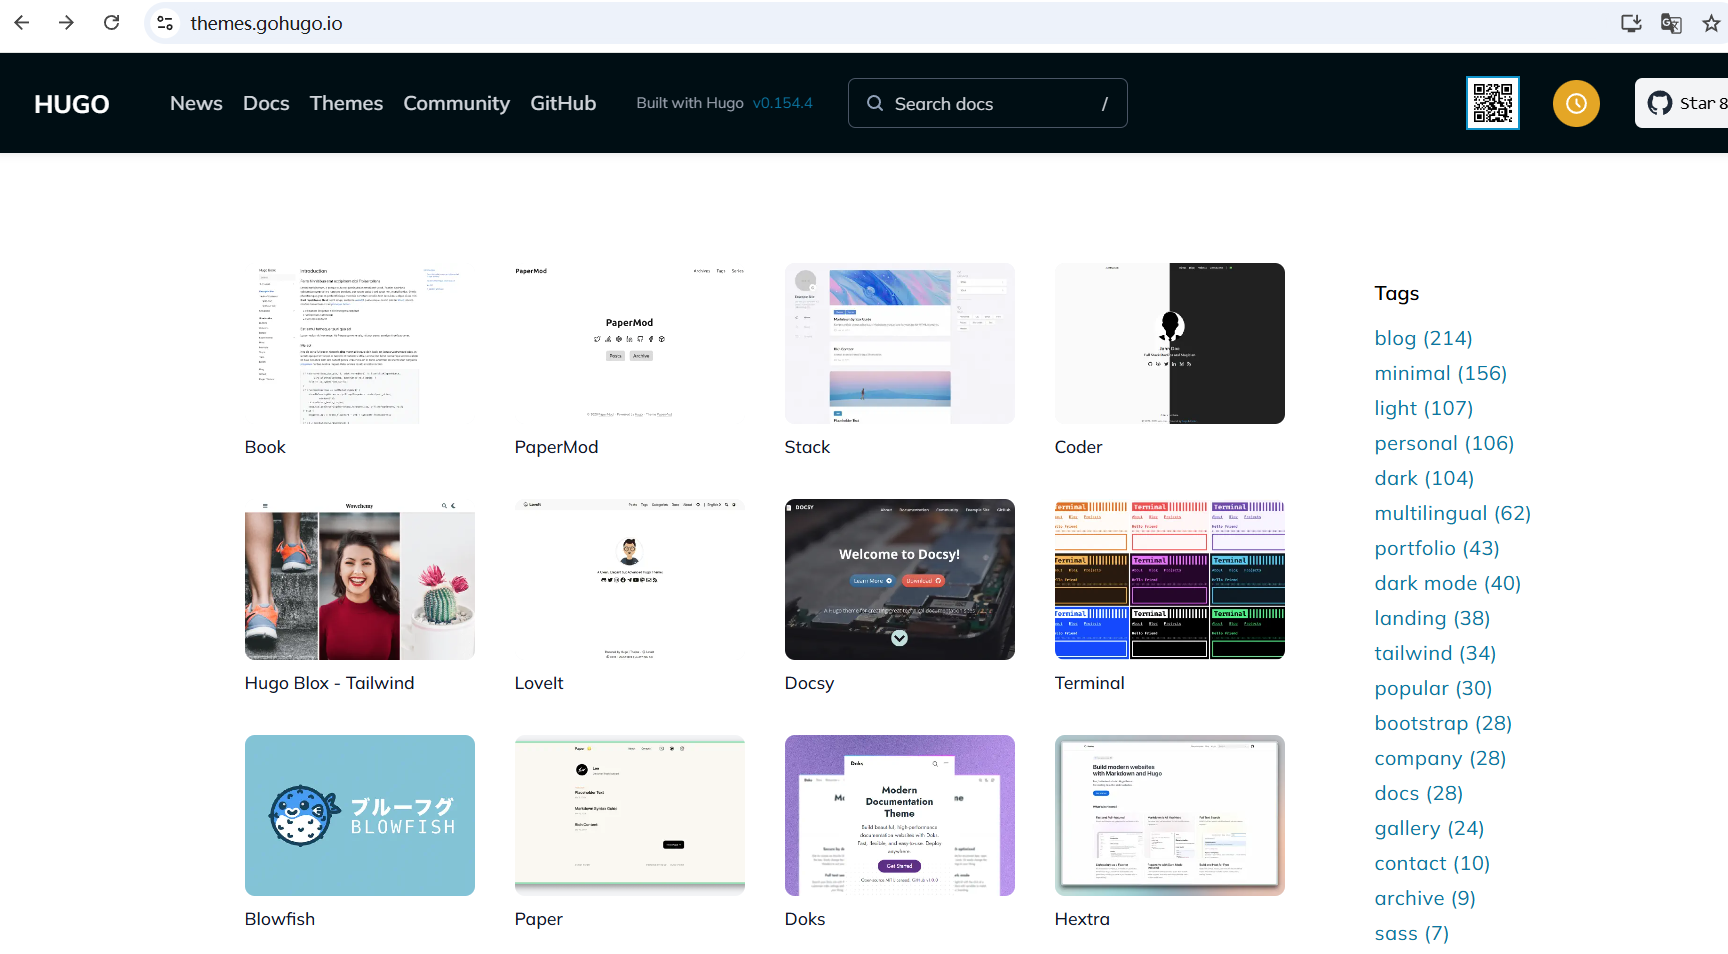
当我们成功创建了我们的博客网站,接下来就是选择一个你喜欢的主题。
可以从hugo官方网站https://themes.gohugo.io/上选择主题,也可以从搜索引擎上搜“hugo 主题”找到一款你中意的主题。
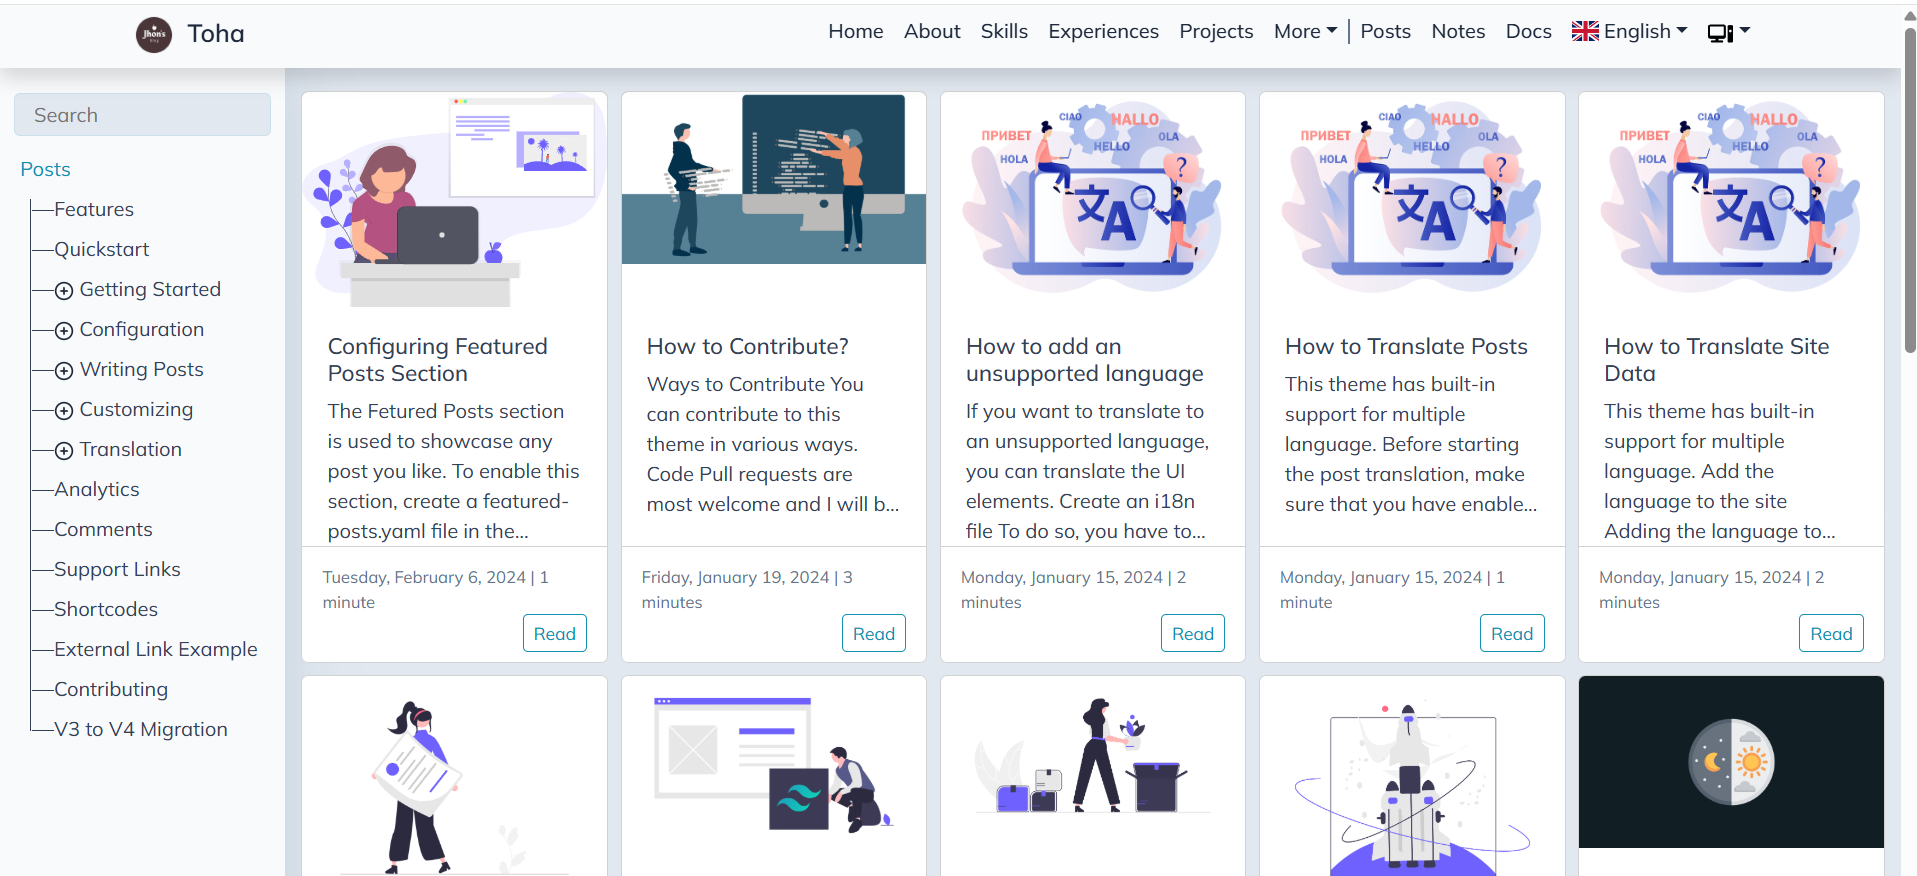
接下来我们都是以hugo官网上推荐的toha主题作为例子来讲解如何安装主题,并且发布到Github Pages上。
安装toha
我们打开https://themes.gohugo.io/
选择toha主题
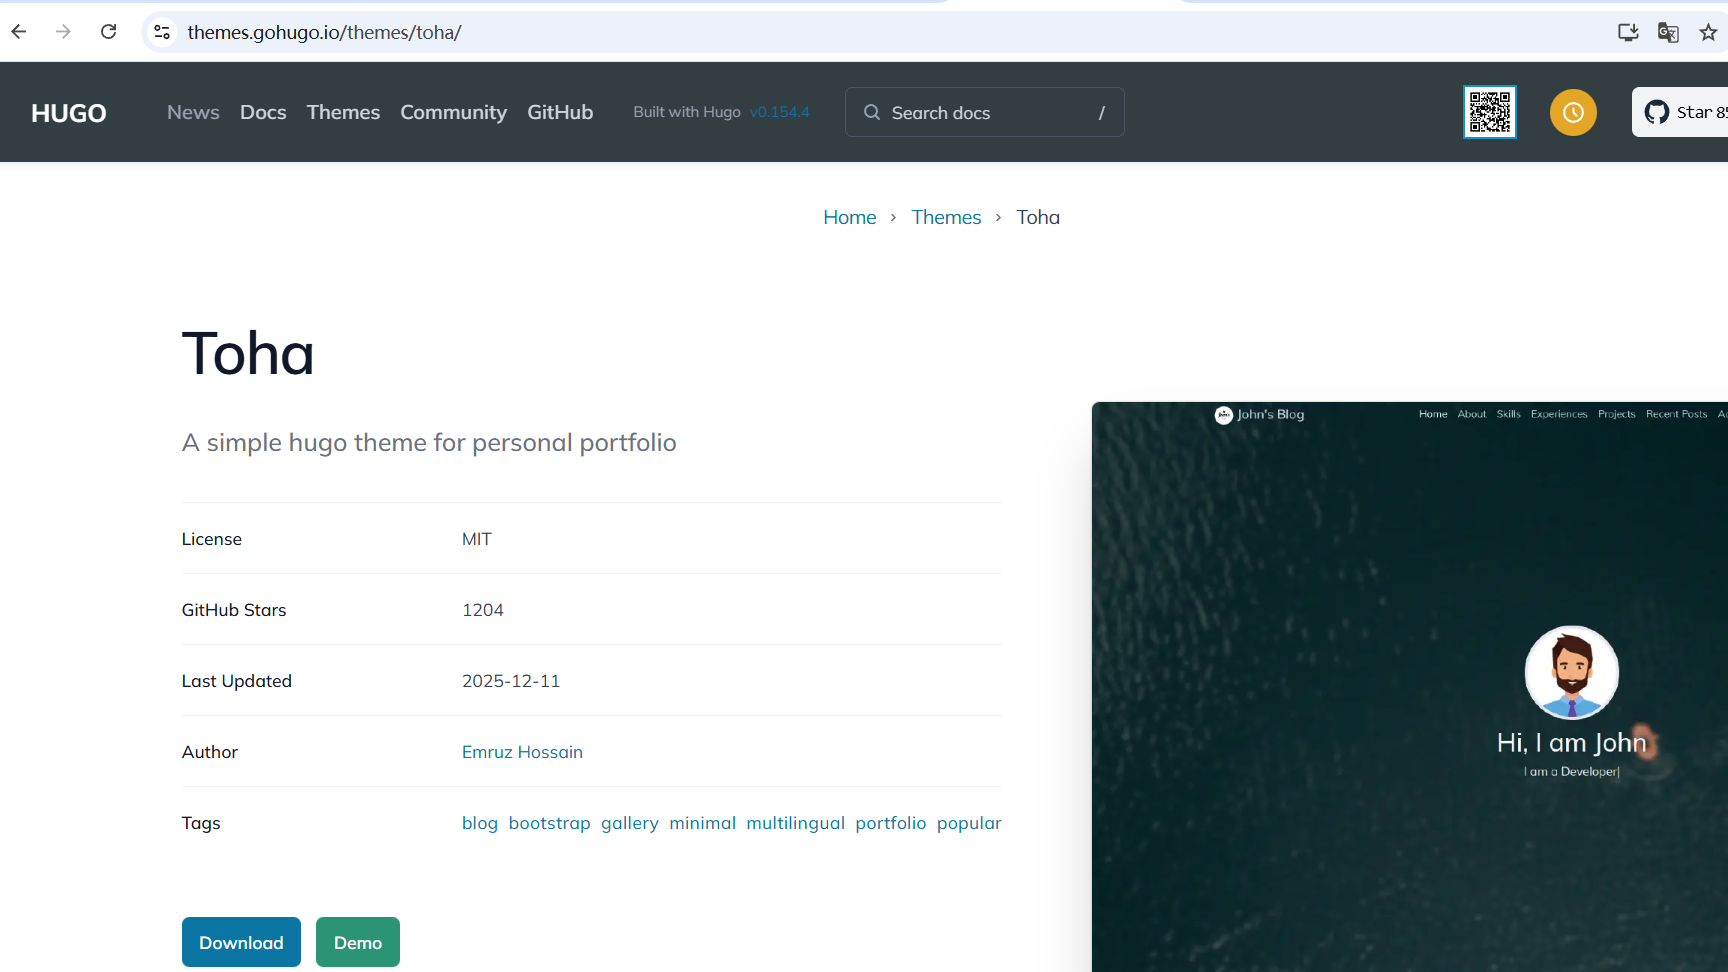
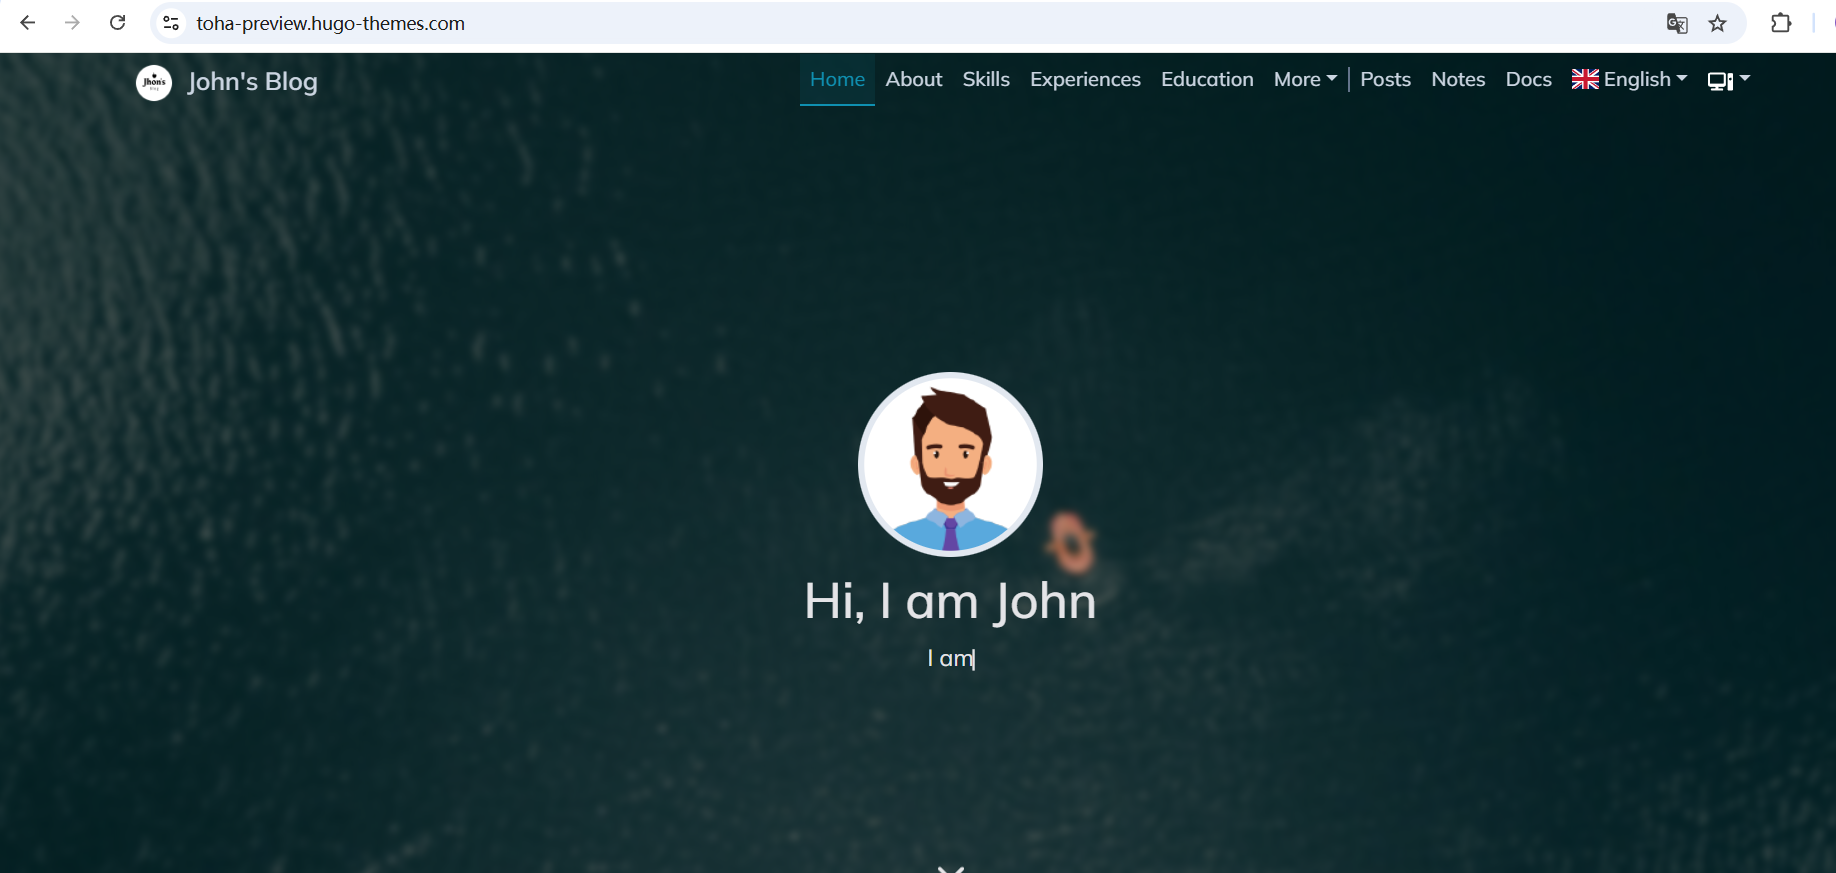
点击demo
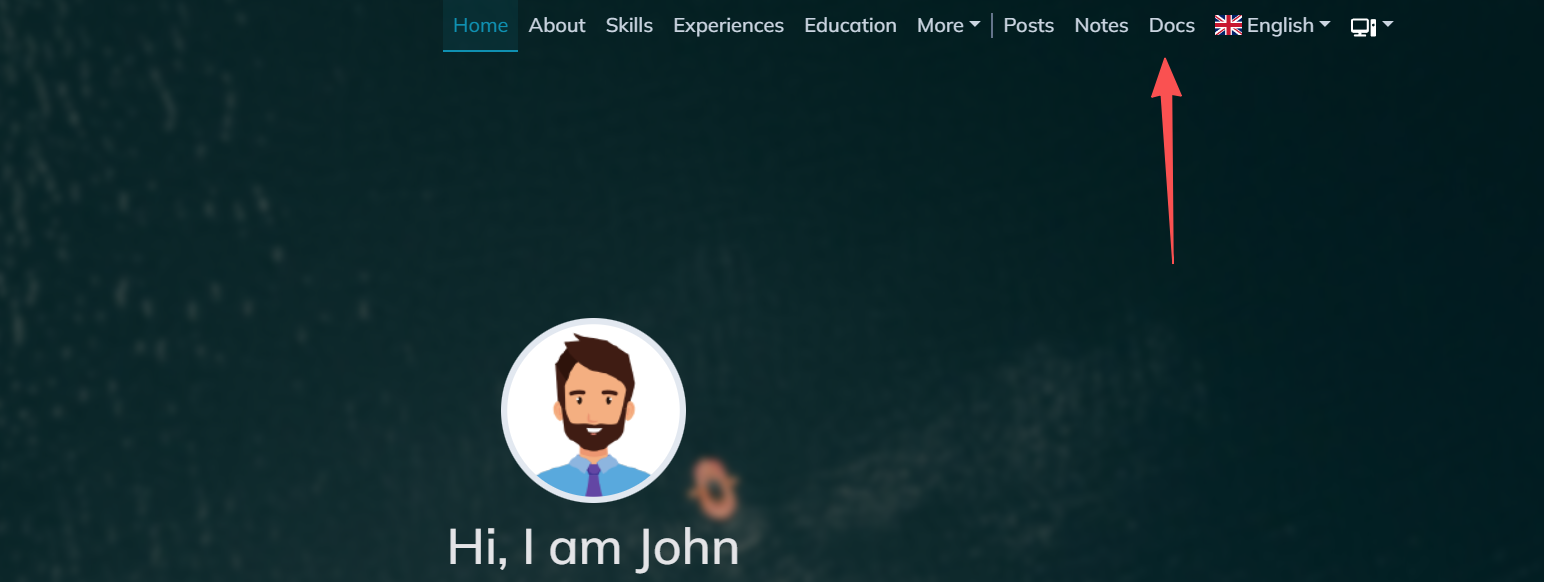
查看toha官方文档
选择Quickstart跟着做即可
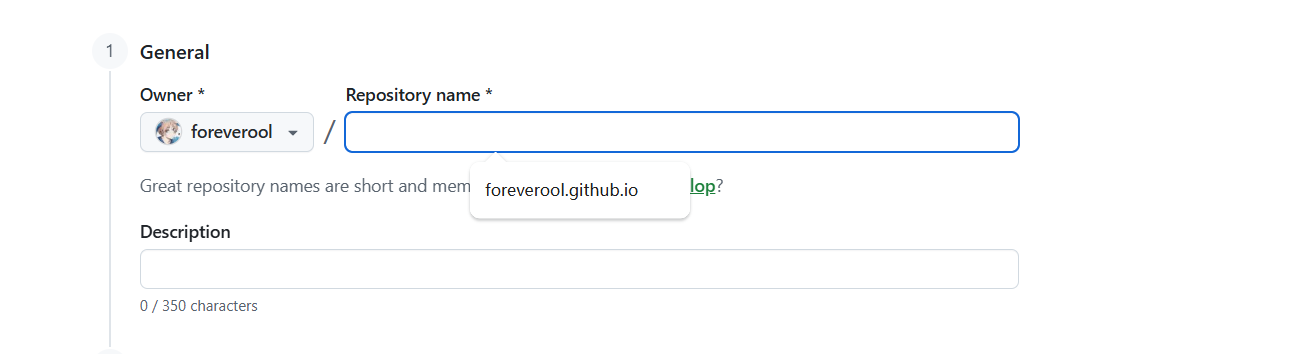
这里需要注意的是,如果你希望你的blog项目托管到Github Pages上,建议在安装主题之前,先创建好GitHub Repository。
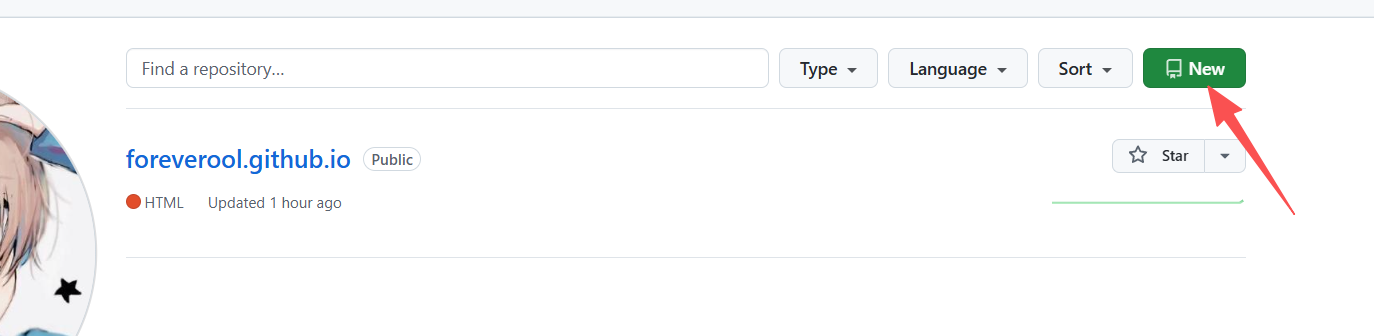
然后将Repository name设置为<your_github_name>.github.io格式。
之后点击创建即可,然后将你创建好website项目的根目录 下执行下面的命令:
git add .

git commit -m "初始化项目"

git branch -M main

git remote add origin git@github.com:<your_username>/<your_username>.github.com.git

git push -u origin main
安装toha theme有两种安装方法,这里只介绍其中一个:
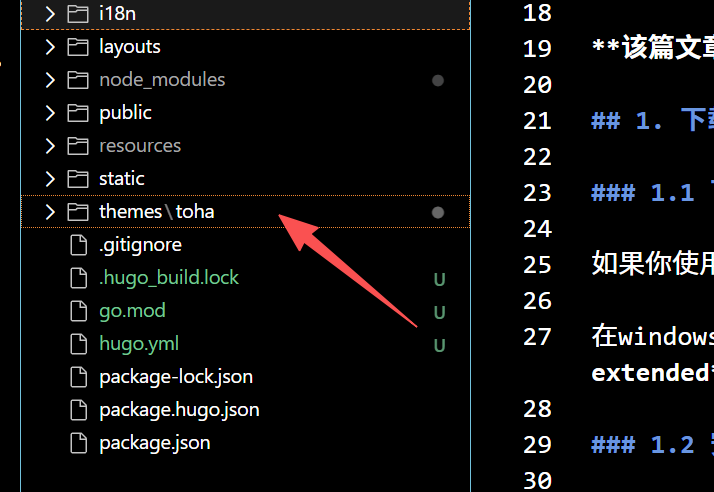
直接下载主题到/themes/目录下
git clone https://github.com/hugo-themes/toha ./themes/
查看目录是否存在toha
如果存在接下来就是执行下面的命令:
hugo mod init github.com/<your user name>/<your repo name>
然后修改hugo.yaml 配置文件:
如果执行使用hugo new web-site命令,其默认的配置文件是tmol文件,所以我们先将该文件名改为hugo.tmol.backup。然后创建一个名为hugo.yaml文件。并且将下面的内容复制到hugo.yaml文件中
baseURL: https://foreverool.github.io/ # 这里需要填写你自己的github 上的repository 名称
languageCode: zh-cn
title: "foreverool's blog"
timeZone: "Asia/Shanghai"  # 中国标准时间(UTC+8),解决时间显示偏移问题
theme: "toha"
defaultContentLanguage: zh-cn
module:
  mounts:
  - source: ./node_modules/flag-icon-css/flags
    target: static/flags
  - source: ./node_modules/@fontsource/mulish/files
    target: static/files
  - source: ./node_modules/katex/dist/fonts
    target: static/fonts
做完上面的操作,接下来执行关键步骤:
# download the theme
hugo mod get -u
# download the theme's dependencies
hugo mod tidy
# generate node dependencies
hugo mod npm pack
# install install dependencies
npm install
执行完这些,你的项目目录下会有node_modules目录。如果没有重新执行上述命令。
接下来执行hugo server -w命令 看是否能正常运行,如果不能,记得安装hugo extended 。
到这里目前主题已经安装完成了,其他有关主题的详细配置,toha官方写会更加详细,如果英文阅读能力稍微差点的,可以直接右键选择翻译该网站即可。